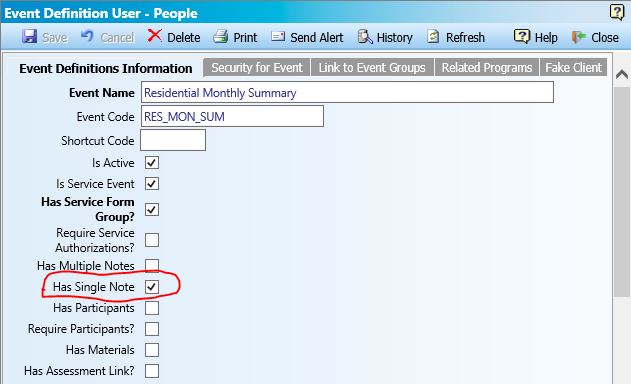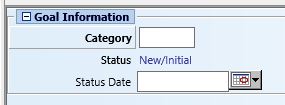
You may find that a myEvolv form that you wish to use contains a picklist field that cannot be done away with, even though the user is always going to be selecting the same item. For instance, you may have a treatment plan for a program where there is only one category of goals, but you have to select that category on each and every component anyway. Just like other fields in myEvolv, you have the option of setting a default value for a picklist field, but it is a little trickier to setup than it is for text and date fields. Defaulting values for picklist fields where there are no real options will save your users time when completing their work in myEvolv.
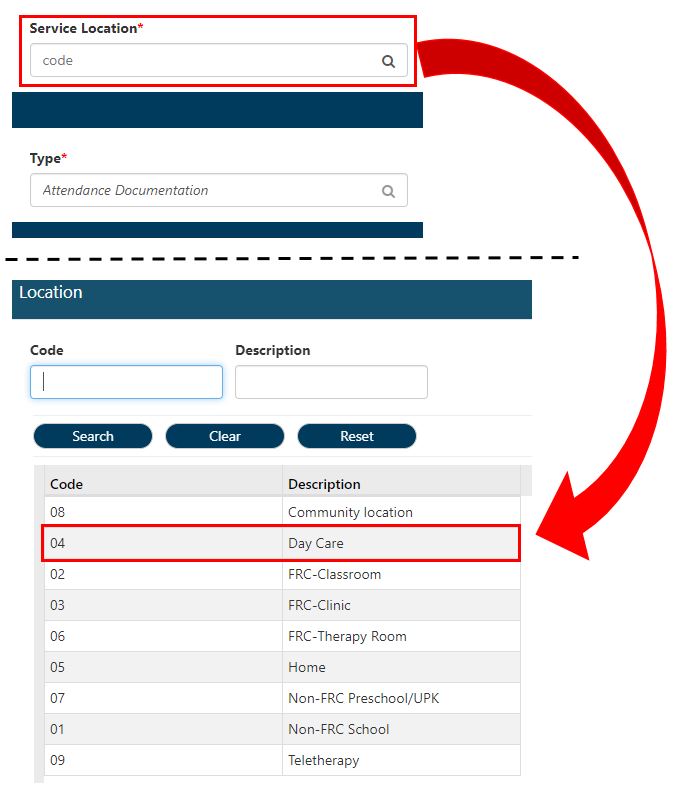
For my example, I have a service event for Attendance Documentation that requires a Service Location field. My user-defined look-up table for Location has 9 options to select, but for my Day Care program, only one location should ever be used for this service event: Day Care. My Day Care staff are sometimes erroneously selecting a different location and are complaining about having to do the extra clicking required to fill in a field that is always the same value.
The simplest way to handle this is to use the default value on my service location field in order to make sure the value we want to be there is always selected, but when I enter ‘Day Care’ in the default value for the picklist field, it doesn’t work. What gives?
Simplest Method: Hard-coded GUID
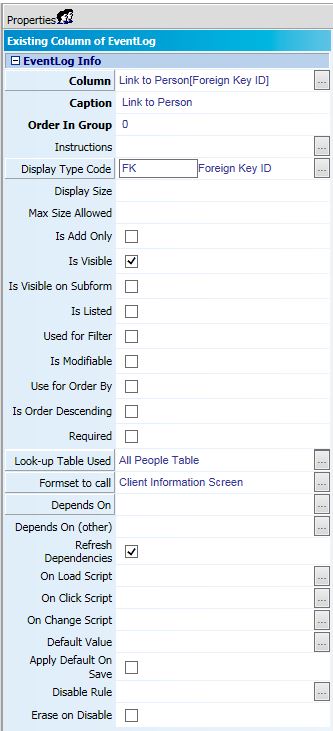
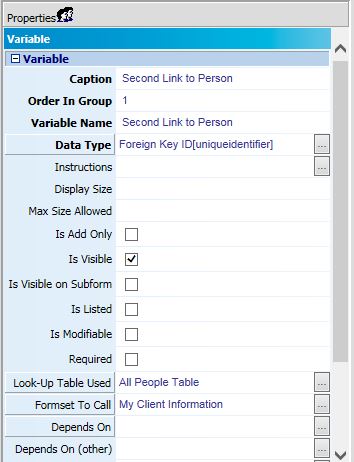
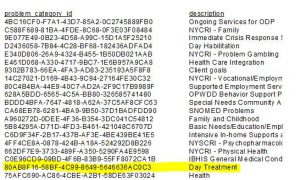
When you use Picklist fields on your form, the underlying data type is a Foreign Key ID, which means the data value actually being stored in the database is the GUID for the picklist item that you are selecting, NOT the description, shortcut code or any other column from the table being referenced. What we need to do here is provide the GUID for the picklist item that we want selected.
There are a few different ways to find the GUID for your intended picklist item. See Tips and Tricks: Two Methods for Finding a GUID for two methods.
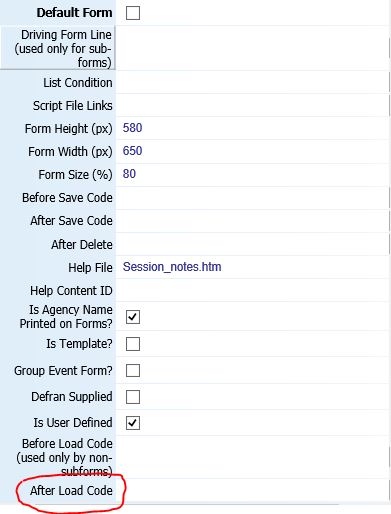
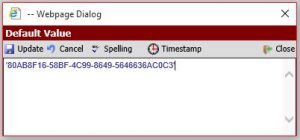
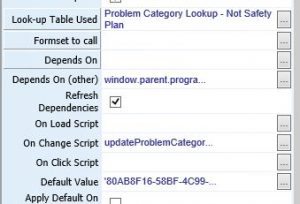
Assuming you have the GUID, then all you need to do in the default value field of the service_location is enter the GUID surrounded by quotes.

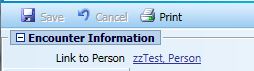
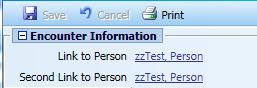
Now the form defaults with “Day Care” selected for this field.

NOTE: When hard-coding with GUIDs, myEvolv Classic requires all upper-case letters in the GUID and myEvolv NX requires all lower-case letters in the GUID. If you are still using classic and intend to use the method below.
More Robust Method: getDataValue
This method is more robust because it works in both Classic and NX, though the over-use of getDataValue can cause system performance to slow.
Instead of hard-coding the GUID, we will use a getDataValue() call to lookup the correct GUID using the description of the item we wish to default.
For this method, you need to know some things about the lookup table you need to fetch the GUID from. In my example, I know that the LUT is a user-defined LUT, so the table is going to be user_defined_lut. I know that the primary key column for that table, the column I want the GUID from, is therefore user_defined_lut_id. And I also know that the column that contains the name of the item in that table is called description. With those bits of information, I can put together a getDataValue() call that will return the correct GUID and I can put that call into the Default Value attribute for my Service Location field.
getDataValue('user_defined_lut', 'description', 'Day Care', 'user_defined_lut_id');

The result is the same as above, with “Day Care” defaulting into the field on the form.

Other Possibilities
The possibilities are endless when it comes to default value logic, since the Default Value attribute accepts any JavaScript code that you might concoct. Whatever code you come up with, the end result must be a single GUID that is a primary key value from a record in the table being used as your picklist field’s LUT.