In my CONNECTIONS2019 presentation, I showed how I use SSRS to create “Pretty Print” versions of myEvolv Treatment Plan components to use as a handout for treatment plan meetings that can be accessed by clicking a URL variable on the treatment plan itself. Several people asked me to share the method and specifically how to do the JavaScript string concatenation, which can be used in many other places.
JavaScript Strings
In JavaScript, strings are any text characters inside of a single or double quote.
var myString = "Hello world.";
You can use concatenation to “glue” strings together. In JavaScript, the concatenation operator is + , just like adding numbers together.
var string1 = "Hello world.";var string2 = "How are you?";var newString = string1 + string2;
The value of newString would be Hello world.How are you? Notice that There are no spaces between the sentences because I didn’t include them in the strings.
If you have added a URL variable to a form, you have already used a JavaScript string because you probably entered a default value like this:
'http://www.example.com'
This created a static URL that will always point to example.com every time the form is opened in myEvolv. Using JavaScript variables and string concatenation, you can create dynamic URLs that will be unique to a client, event, staff, or any other things you can come up with and these can be very useful for making myEvolv more user-friendly and effective.
“Pretty Print” Reports
At my agency, we find that the default printouts for things like Treatment Plans are long and difficult to read, especially for people who are not using myEvolv day-to-day. When treatment teams get together to meet about the treatment plan with the client and family members, we were printing copies of the treatment plan to share at the meeting.
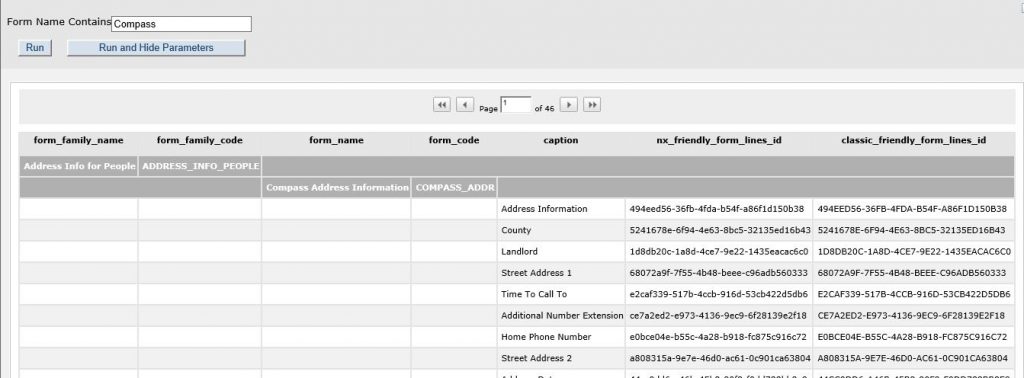
Through meeting with the staff in those meetings, we determined that the main focus was to use these printouts to review the component pieces of the treatment plans, so why not come up with a way to just generate a one-page print-friendly list of Goals, Objectives and Methods from the current plan?
I was able to accomplish this using our SSRS Report Server by creating a report that would pull in all of the service_details for a specific plan and displaying them neatly.
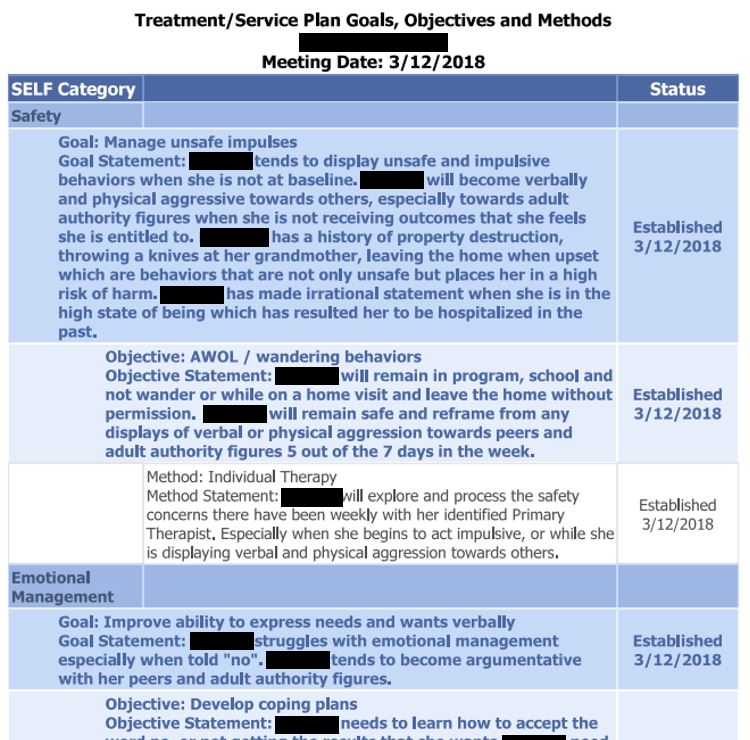
The SSRS Web Portal would allow staff to access the report where I could have added parameters that would allow the staff to lookup a client and select the plan they were looking to print this report for. But it would be easier if they could just click a link and have the report generate for the plan they clicked the link from automatically.
Dynamic URL to SSRS Report
Query Strings
SSRS allows you to pass report parameters through query strings. You may have seen these in web URLs that you have browsed:
http://www.example.com/search?search_term=balloon%20animals&limit=20
The first section of the URL directs you to a search endpoint
http://www.example.com/search
The ? starts the query string and then the parameters and their values are listed. In this case, the search_term is “balloon animals” and we only want it to return (limit) 20 results.
We can do the same thing with SSRS. In the case of this Pretty Print example, I only need one parameter, event_log_id. My query includes a WHERE clause
WHERE event_log.event_log_id = @event_log_id
This creates a parameter called event_log_id that the report is expecting in order to run.
The event_log_id of the Treatment Plan is on the treatment plan so we can use string concatenation to glue the report endpoint and the parameter name to a variable on the plan that holds the value of the event_log_id.
URL Variables
The URL form field type is used to create a clickable button on a form that will launch a new web browser window pointed to the URL value of the field.

You could add the field as a user-defined field and that might make sense if you are doing something like collecting a URL from someone. For example, if you wanted to get the website of an organization. In that case, you want to store the URL in the database.
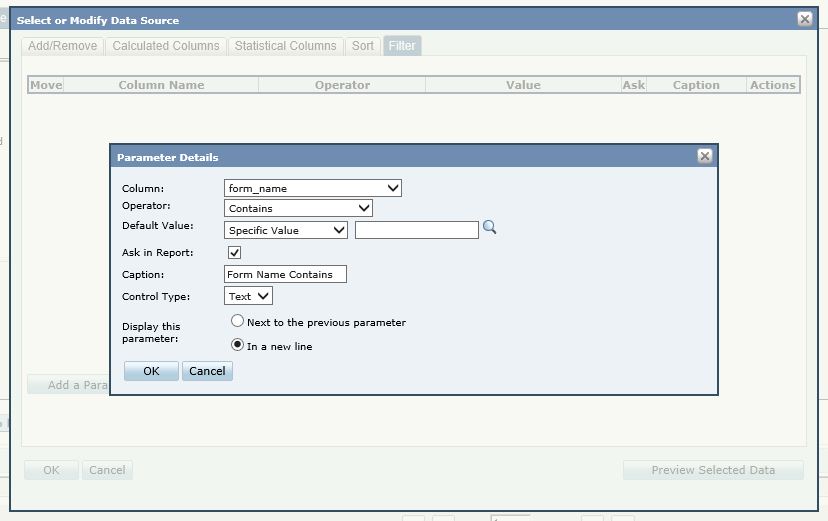
In this situation, however, we don’t need to store anything in the database. We just want to generate the URL and create the button every time an event is opened, so a variable is perfect in this case. I added mine like this:
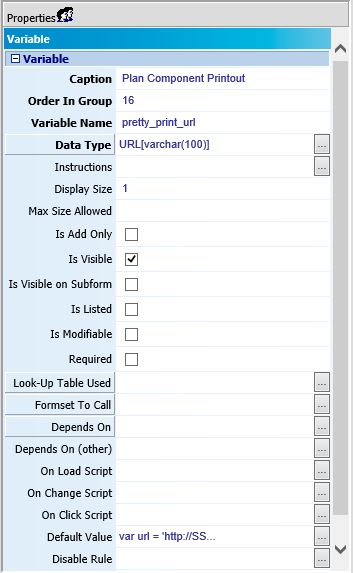
The URL field displays the URL in a ext box and then has a clickable globe icon to the right of it. I don’t like to display the url itself because they can sometimes be very long and look terrible so I put 1 in display size. That still shows the first few characters of the URL but that’s the smallest you can get it. As of this writing, the display size does not seem to effect how it looks in NX. I also make my URL variables not modifiable.
Default Value
Now for the JavaScript. We have our SSRS Web portal setup to work on the agency Network only so the url is
http://ssrs:8080/reports
The specific report I have created is located in the Pretty Print Reports directory and is called Plan Components:
http://ssrs:8080/reports/report/Pretty%20Print%20Reports/Plan%20Components
The %20 all stand for spaces
I also know that I have one parameter, event_log_id, so that is going to be a static part of the url:
http://ssrs:8080/reports/report/Pretty%20Print%20Reports/Plan%20Components?event_log_id=
And now all I have to do is concatenate the event_log_id to the end of the url and I will have my link. myEvolv stores the event_log_id of any given event in the variable keyValue, so I can just use that. So in the default value for the URL variable, I will use the following code:
var url = 'http://ssrs:8080/reports/report/Pretty%20Print%20Reports/Plan%20Components?event_log_id=';
 url += keyValue;
 url;
Explanation: I created a variable called url and gave it the string value of the static portion of my report URL. Then I concatenated the event_log_id of whatever event the form opens with to the end of the string using the myEvolv variable keyValue.
The url variable now holds a value like:
https://ssrs:8080/reports/report/Pretty%20Print%20Reports/Plan%20Components?event_log_id=2542C1F3-2D25-4840-97B3-A17C86652E9F
In the last line, I simply output the value of url, which becomes the default value of the URL variable.
One More Brief Example
To give an idea of a slightly more complicated string concatenation for a URL variable, another place where I use this is on our Monthly Summary events. I have created a dynamic URL variable that will launch an SSRS report where the parameters are the client’s people_id and then a date range. The SSRS Report then pulls in the specified daily notes for that client between those dates so that the summary writers can easily review the months’ activities.
Here’s the code for the default value:
var url = 'http://ssrs:8080/reports/report/Raise%20the%20Age%20Reports/Action%20Step%20Specific%20Notes?people_id=';

url += getElementFromXML(formXML,'people_id');

url += '&start_date=';

url += getElementFromXML(formXML,'udf_summary_start');

url += '&end_date=';

url += getElementFromXML(formXML,'udf_summary_end');

url;
This is pretty similar to the first example but a few difference. One, instead of using a myEvolv variable, I am just concatenating values from the form directly to the string: people_id and two user-defined date fields, udf_summary_start and udf_summary_end.
I am using getElementFromXML() to get the value from the form’s definition rather than the rendered form elements. This works well when you have default values in the form. If you do not, then those values may be null until filled in on the form.
In that case, you might want to go a different route and use similar code to the On Change field of every form element that is used in the URL with t
var url = 'http://ssrs:8080/reports/report/Raise%20the%20Age%20Reports/Action%20Step%20Specific%20Notes?people_id=';
url += getFormElement('people_id');
url += '&start_date=';
url += getFormElement('udf_summary_start');
url += '&end_date=';
url += getFormElement('udf_summary_end');
 setFormElement('monthly_summary_report_url', url);
***In this example, my URL’s variable name is monthly_summary_report_url
What this does is any time the client is switched on the form or the start and end dates are changed, a new URL is generated and entered into the URL variable as the value.
In either case, you can see that I am alternating between concatenating static parts of the query string with they dynamic parts to make a more complicated query string.


