The following post outlines how to use images in memo fields as was shown in my presentation at CONNECTIONS2016.
Memo fields in myEvolv are unique because they are rich text fields. This means that they will retain any markup that is done to them so that you can do things like change the font size and underline text that is being input into the field. When you are changing the formatting of the fields, HTML markup is being applied to the text behind the scenes. Because of this fact, we can use other HTML tags in a Memo field and have the browser render them just like it renders the rest of the webpage. One place where this can be useful is in adding images to treatment plans for individuals with intellectual and developmental disabilities.
With the Memo fields, you can just enter the HTML markup in the field itself and after saving, you will see the result. The challenge is therefore not in manipulating myEvolv to allow HTML but rather figuring out a way for clinicians who are not web developers to use pictures in their treatment plans.
Form Setup
There isn’t a lot to setting up the form but you have to keep this in mind: When you setup a text template, you must designate the table and columns for which the template will be available. In my agency’s case, the treatment plan had three fields where we wanted to use images: Likes/Interests, Dislikes/Fears, and Strengths/Skills. Each of these has it’s own user defined Memo field so that other programs using the progress_note field would not have the option of choosing one of my image text templates. It was also important to separate them so that someone didn’t accidentally put an image from the wrong category into the wrong field.
Note: If you setup a new Memo field before you setup the text templates for it, the template button on the Memo field may be disabled. You can fix that by making a change to the form so that it rebuilds the Form XML or run the Create Forms XML utility to awaken the button once a text template is linked to the field.
Preparing the Markup
The first step is to find the image that you want to use. The image needs to be on a web server somewhere because you are going to link to it rather than upload it. Ideally, your agency would set one up so that you could be sure the images that you use won’t ever disappear from the internet, leaving your old plans with broken image links. If that is not an option, you can use images from anywhere on the web. You will need the URL for the image itself. You can get that by finding an image on a website, right clicking it and selecting “Open Image in New Tab” or a similar option, depending on browser. Then you simply put the url into an img tag:
<img src='http://blog.corbinet.com/wp-content/uploads/2016/10/bunny.jpeg' />

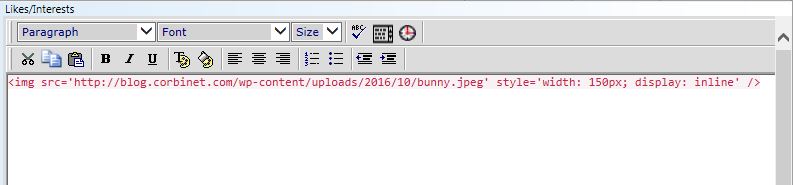
The image tag that I created above will render an image is that is 543 pixels wide… too big for my plan, so I need to add some CSS styling to the image tag to make it smaller. Again, if you are hosting your own images, you could just make the raw image the size that you want and avoid this step. Another thing that I wanted to do is have the pictures site next to one another if I put multiple in a row so I am going to have the images styled to display inline.
<img src='http://blog.corbinet.com/wp-content/uploads/2016/10/bunny.jpeg' style='width: 150px; display: inline' />
You can add other styling as you see fit using inline CSS.
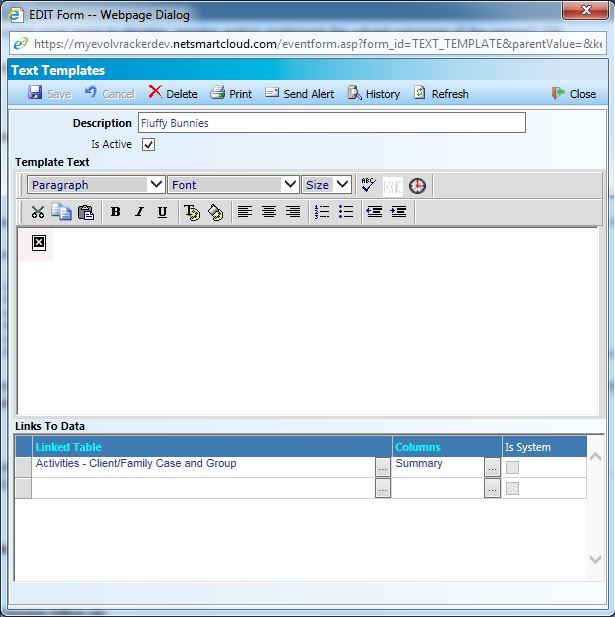
Setting up the Text Template
Give your text template a descriptive name since this is all the clinician will see in the list of templates when they must choose.
At the bottom, link your template to the correct table and column that you setup on your form.
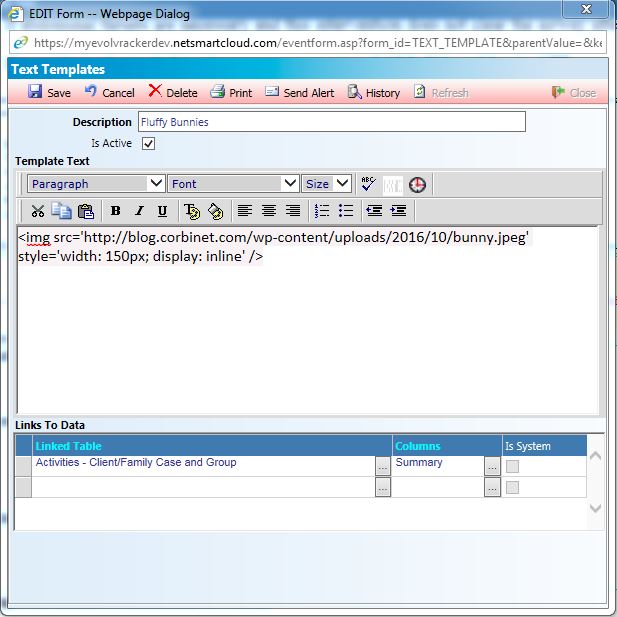
For the template text, you will enter the img tag that you created. Note: I have found that you cannot type this img tag into the field because it will begin to add markup to the url that you are using for the src and that breaks the image. Instead you must paste the img into the Template Text field and save without making any changes.
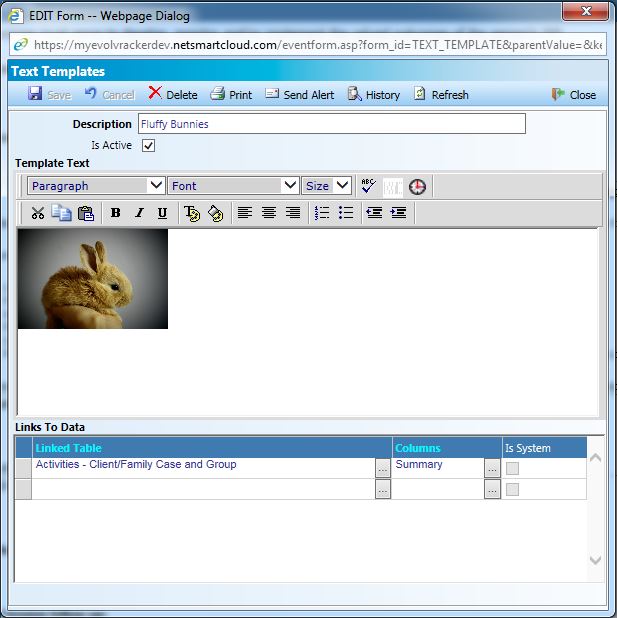
If you have entered syntactically correct HTML, after saving, you should see the image and not the text:
If you see this, then you need to start again:
When you revisit the Text Templates area in the future, you may or may not seethe image rendered in the list of text templates but you should when you open a text template for editing or viewing.
Applying Text Template in Memo Field
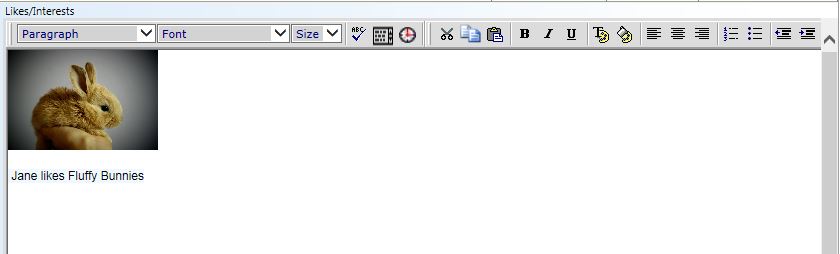
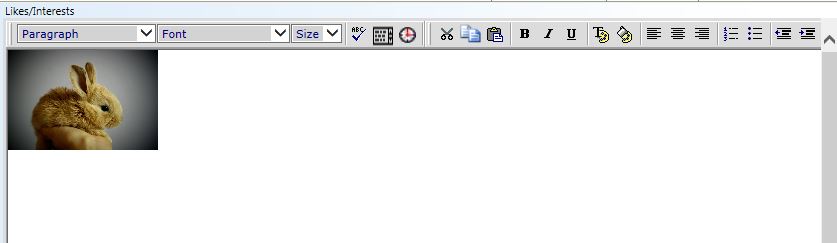
When the clinician goes to add the image to the Memo field, they can select the text template that contains the image. Unfortunately, when they select the text template, they will see the markup that will render the image once the form has been saved and not the image.
After saving, the image should appear. You can also add text in the same field to label the pictures or explain them.